How to Properly Document Roof Damage for Insurance (Step-by-Step Guide)
Roof damage can occur unexpectedly due to severe weather, fallen trees, hail, high winds, or other unforeseen events. When damage occurs, properly documenting the condition of your roof is one of the most important steps you can take to support a successful insurance claim. Thorough documentation helps establish the extent of the damage, provides evidence for your insurance provider, and can streamline the claims process.
If your roof has recently sustained damage, follow this step-by-step guide to ensure you collect the information your insurance company may require.
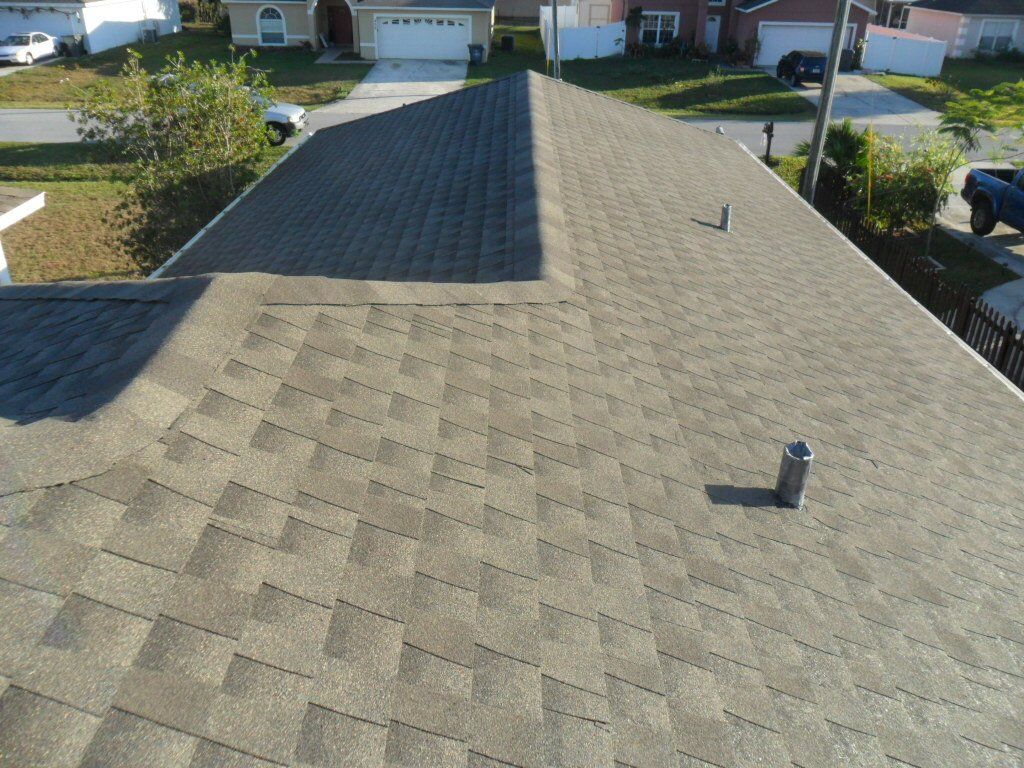
Step 1: Prioritize Safety First
Before documenting any roof damage, make safety your top priority. Avoid climbing onto the roof yourself, especially if the damage is extensive or the surface may be unstable.
Instead:
- Inspect from the ground when possible
- Use binoculars to view elevated areas
- Take photos from safe locations
- Stay away from downed power lines
- Contact a professional roofing contractor if necessary
Your safety is always more important than obtaining photographs.
Step 2: Document the Date and Cause of the Damage
As soon as you notice roof damage, record important details about the event that caused it.
Make note of:
- Date and time of the storm or incident
- Type of weather event (hail, wind, heavy rain, etc.)
- Estimated severity of conditions
- Any local weather reports or alerts
This information helps establish a timeline for your insurance claim.
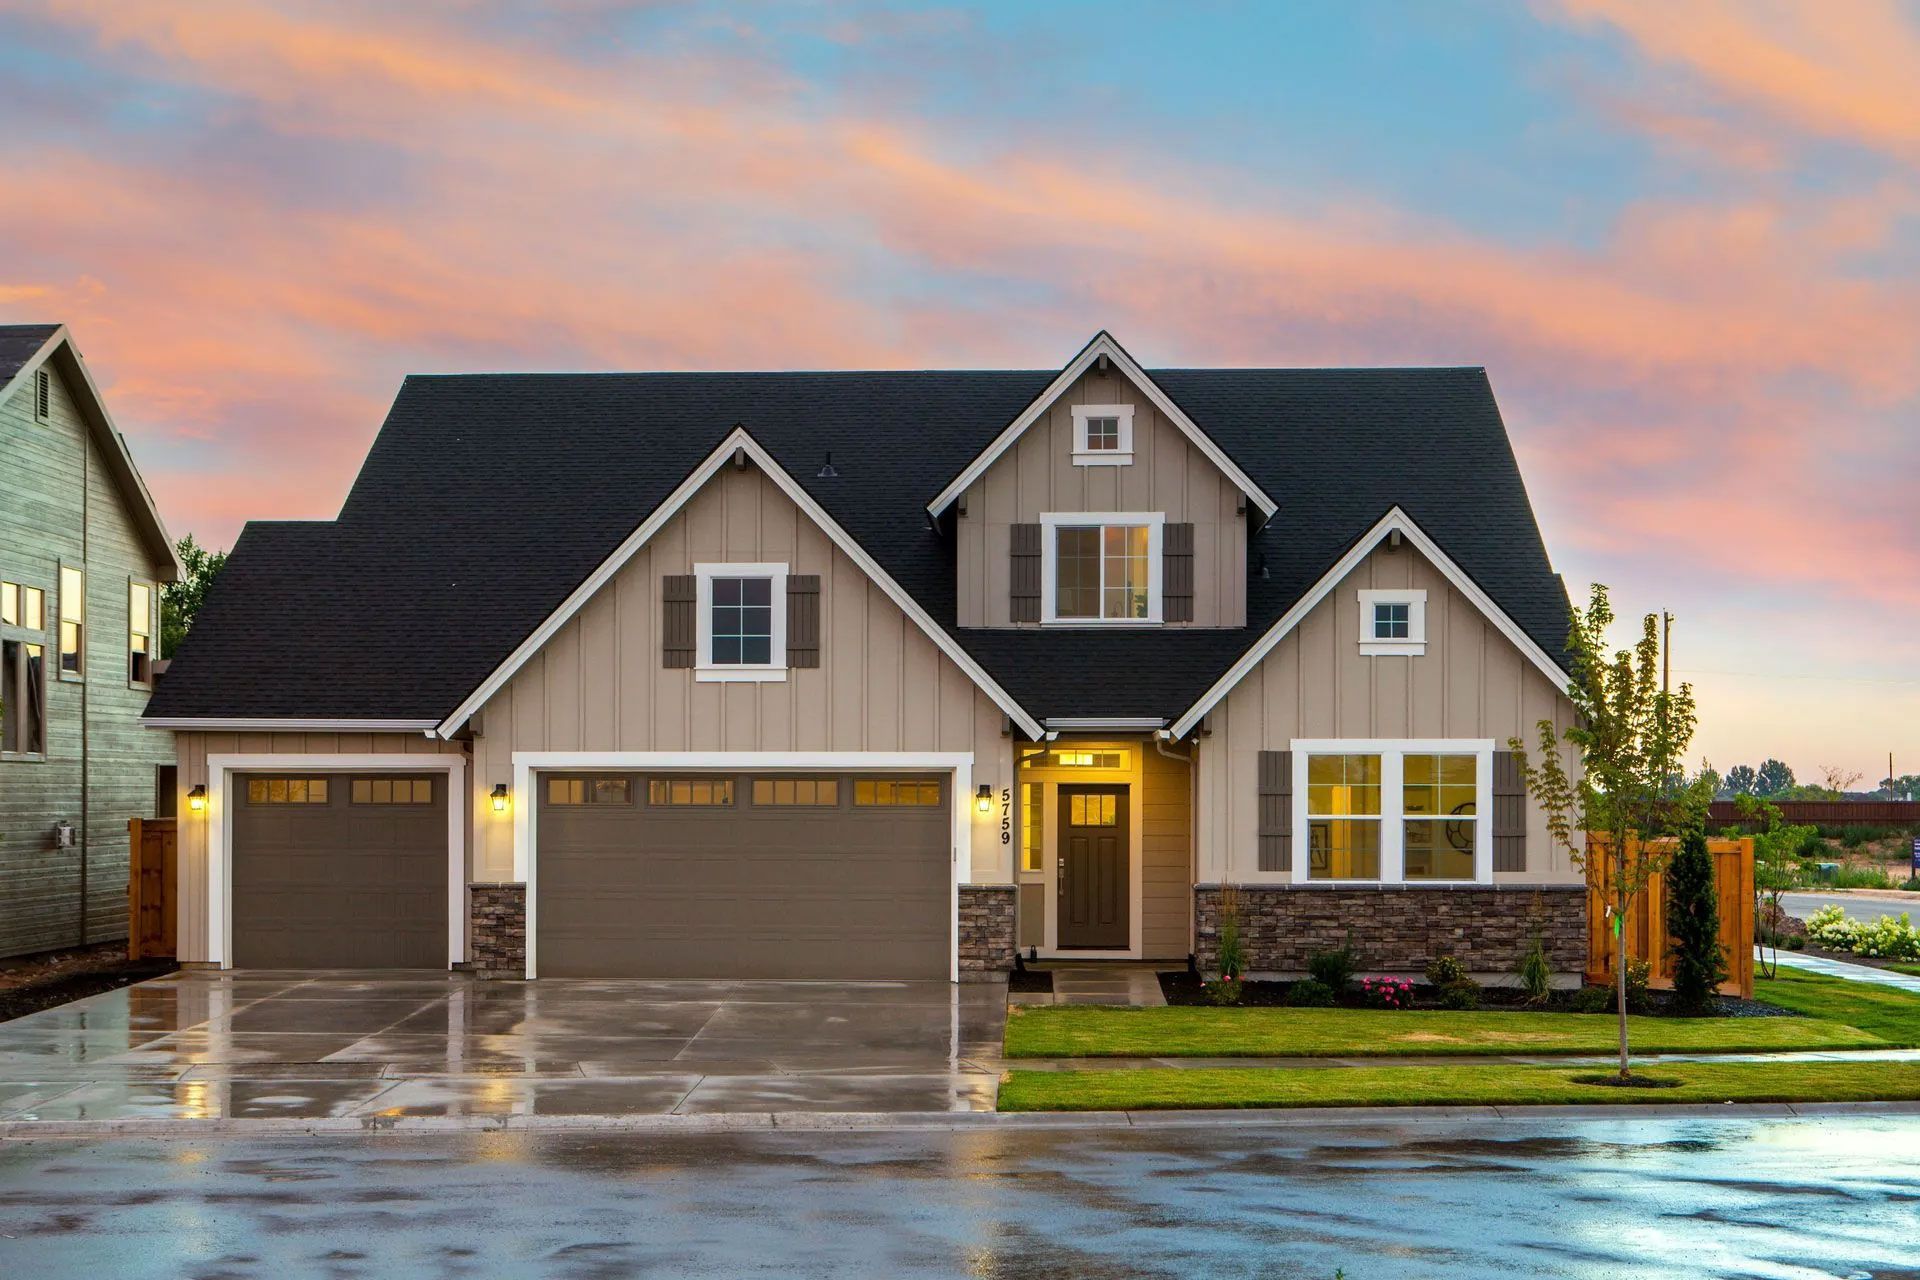
Step 3: Take Wide-Angle Photos
Start by capturing images of the entire property and roof from multiple angles.
Photograph:
- Front, rear, and sides of the home
- Overall roof condition
- Visible storm impacts
- Nearby fallen branches or debris
- Areas where damage appears most severe
Wide-angle images help provide context and demonstrate the scope of the damage.
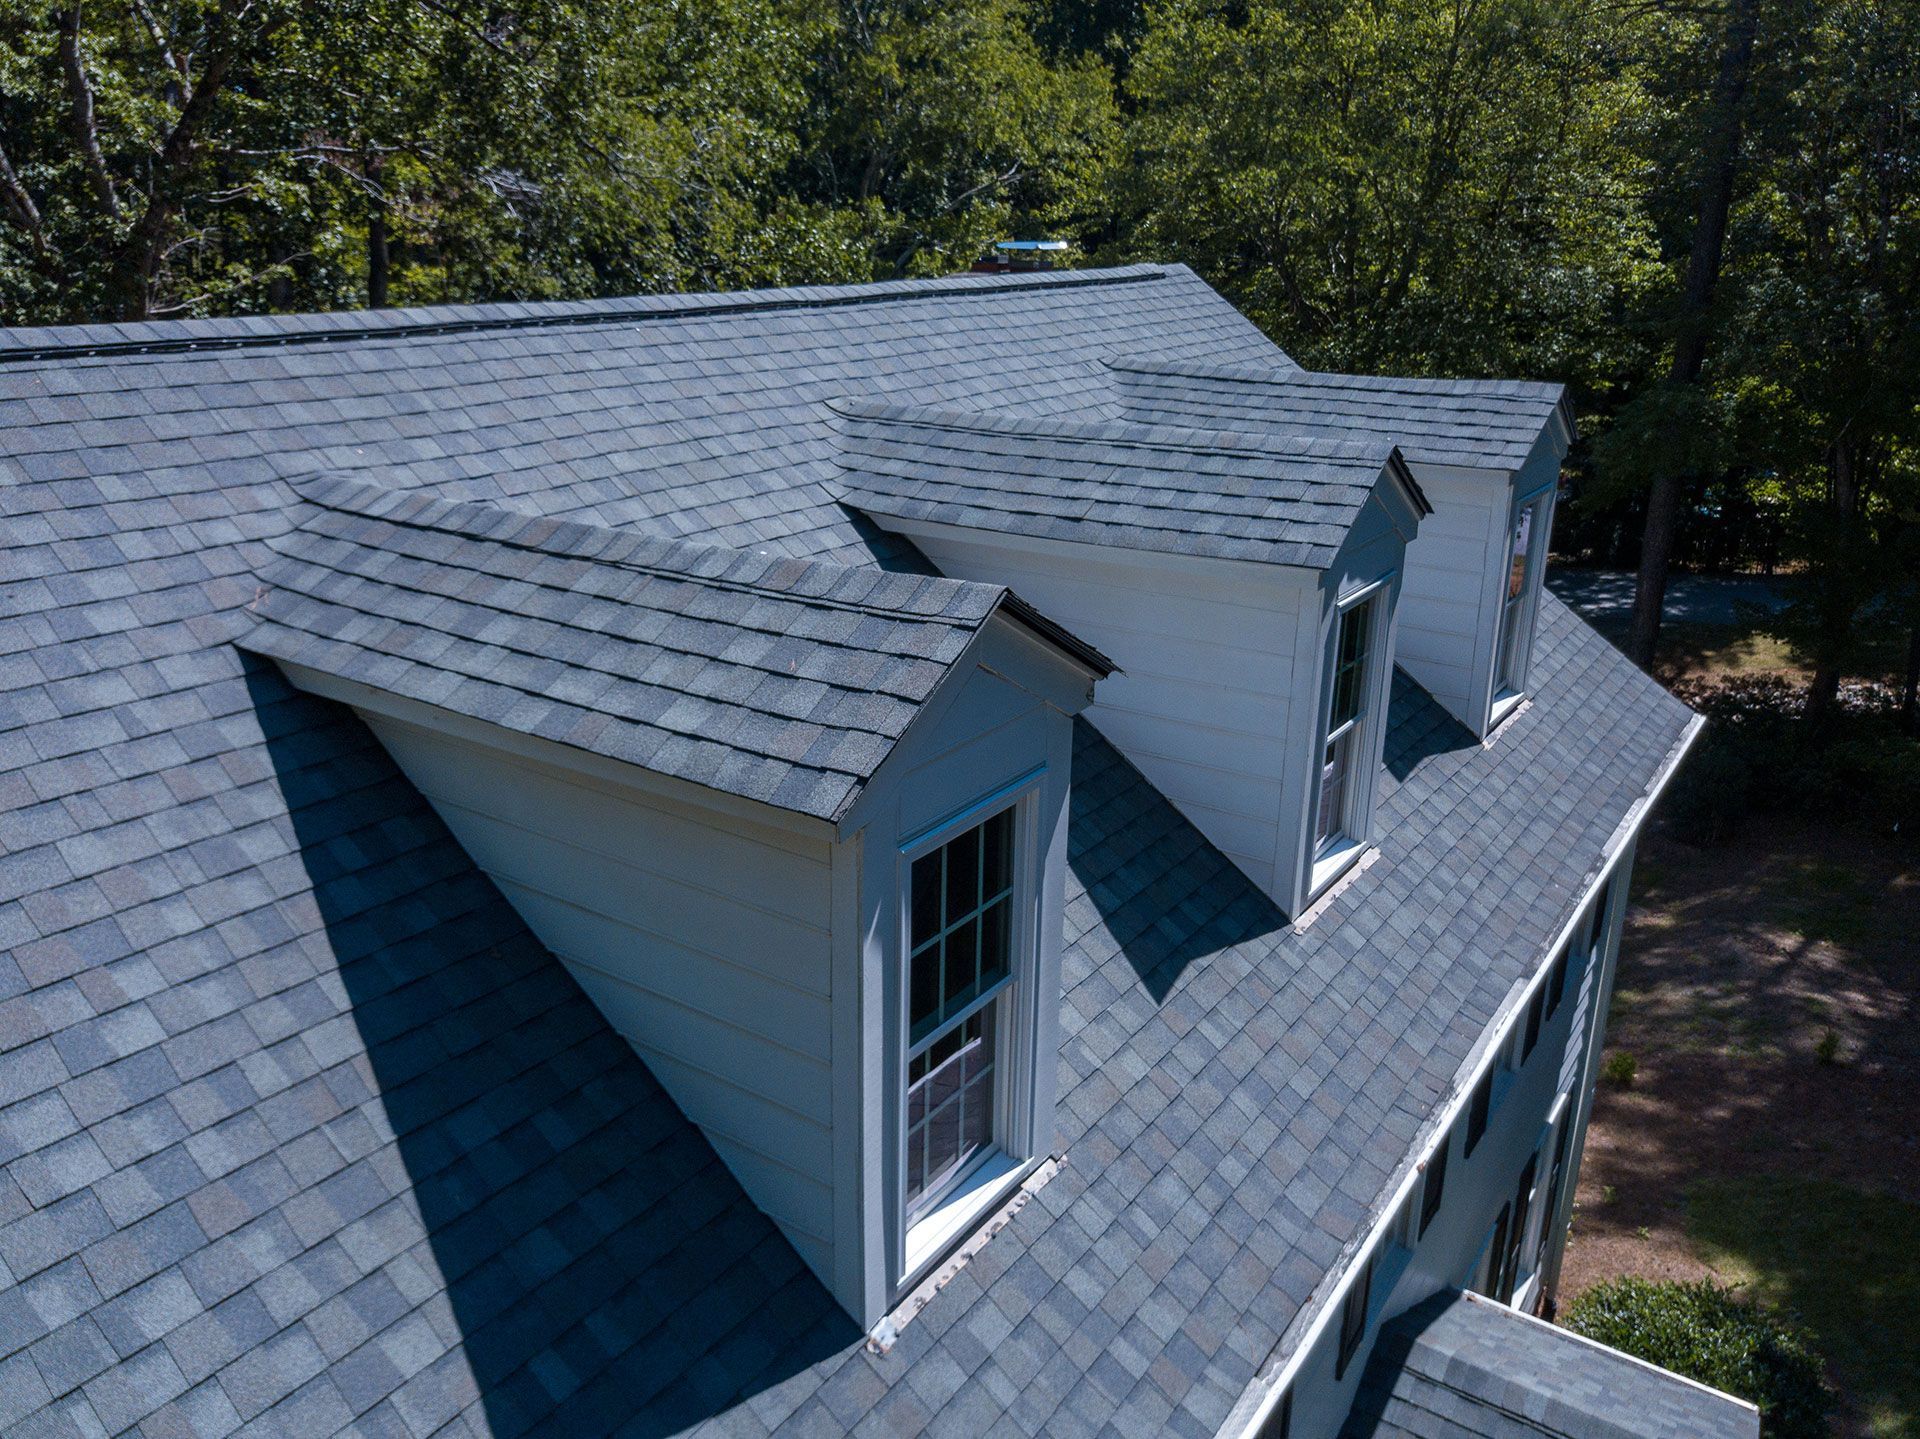
Step 4: Capture Close-Up Images
After documenting the overall property, take detailed photos of specific damage.
Look for:
- Missing shingles
- Cracked or broken shingles
- Hail impacts
- Lifted roofing materials
- Damaged flashing
- Exposed underlayment
- Fallen tree damage
Take multiple photos from different angles to ensure details are clearly visible.
Step 5: Document Interior Damage
Roof damage often affects the inside of the home as well. If water intrusion has occurred, document all interior evidence.
Photograph:
- Ceiling stains
- Water spots
- Peeling paint
- Wet insulation
- Mold growth
- Damaged drywall
- Damaged flooring or personal belongings
These photos help demonstrate the full impact of the roofing issue.
Step 6: Create Written Notes
Photos are essential, but written observations can provide valuable supporting information.
Include details such as:
- Areas where damage is located
- Approximate size of damaged sections
- Any active leaks
- Changes noticed after the storm
- Temporary repairs completed
Organized notes can help you communicate more effectively with adjusters and contractors.
Step 7: Save Damaged Materials When Possible
If roofing materials have fallen to the ground, preserve them when it is safe to do so.
Examples include:
- Broken shingles
- Flashing pieces
- Roofing nails
- Debris caused by the storm
Physical evidence may help support your claim if questions arise during the review process.
Step 8: Prevent Additional Damage
Most insurance policies require homeowners to take reasonable steps to prevent further damage after an incident occurs.
Temporary measures may include:
- Installing emergency tarps
- Covering exposed areas
- Removing debris
- Redirecting water away from vulnerable areas
Keep receipts for any emergency repairs or materials purchased, as these expenses may be reimbursable.
Step 9: Schedule a Professional Roof Inspection
A professional roofing contractor can identify damage that may not be visible from the ground.
A roof inspection can provide:
- Detailed damage assessments
- Professional documentation
- Inspection reports
- Repair recommendations
- Estimates for restoration work
Having an expert evaluation can strengthen your insurance claim and ensure no damage is overlooked.
Step 10: Organize Your Documentation
Before submitting your claim, gather all supporting materials into one organized file.
Your documentation package should include:
- Photos and videos
- Inspection reports
- Weather event information
- Written notes
- Repair estimates
- Receipts for emergency work
- Correspondence with contractors
Keeping everything organized makes it easier to respond to requests from your insurance company.
Jumpstart the Insurance Roof Replacement Process Today
Properly documenting roof damage is one of the most important steps in securing a fair insurance claim. If you're interested in learning more about this intricate process, we urge you to contact one of the knowledgeable representatives at Top Dog Roofing. For years, our team has continued to provide insurance roof replacement services across Orlando, FL and the surrounding communities. All you have to do is reach out to our certified roofing contractors to request support.